
15th July 2018
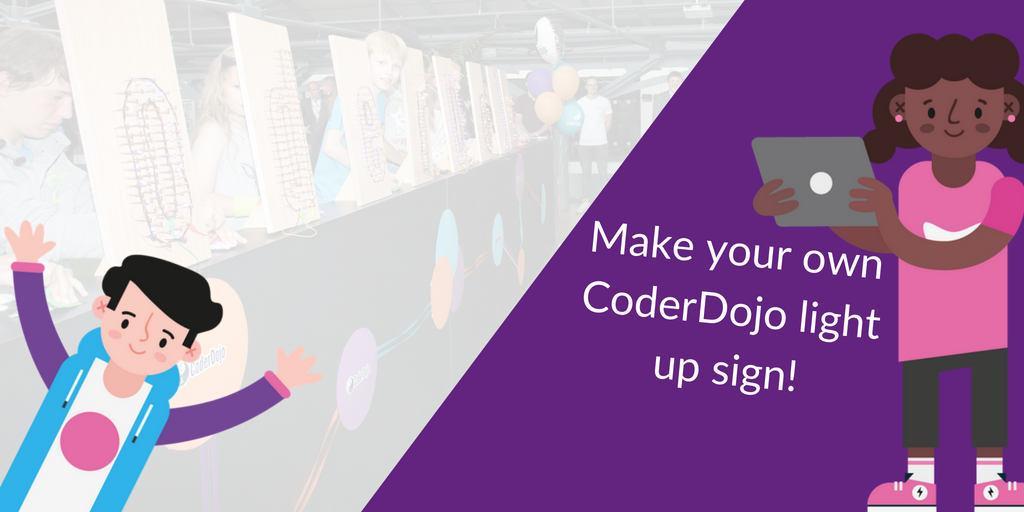
How to make your own CoderDojo Sign
To celebrate 7 years of CoderDojo we decided we wanted to make a project which embodied the creative technology spirit of the movement! What better way to do that than making a giant electronic light up CoderDojo sign?
Brainstorming & adapting ideas
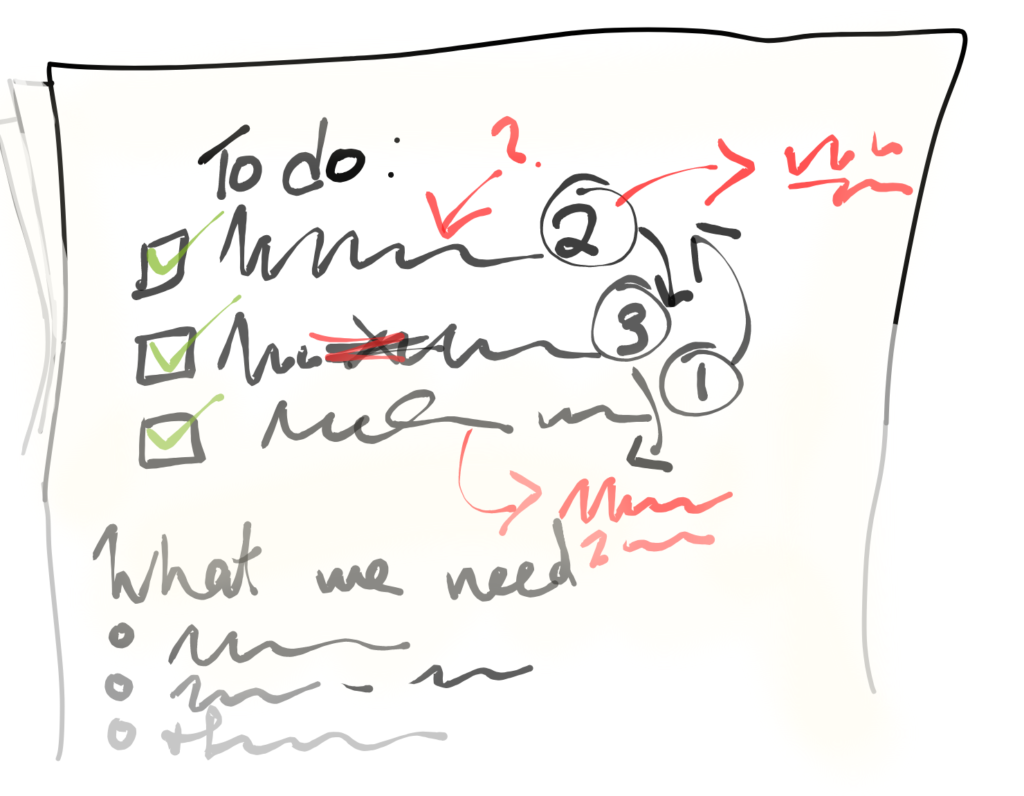
Firstly we started brainstorming ideas. We came up with some ideas, asked our friends and colleagues if they had any ideas, looked what other people had made online and then decided on what we thought we could make. Here are some worksheets you can use to help you come up with your next project!
Originally we wanted something that we could programme, but as the date drew closer we realised this wouldn’t be feasible. Adapting your ideas to the resources available to you is an important part of making any project!
 Planning & Teamwork
We broke down what had to be done into tasks. This enabled us to plan out the project so that we knew what should be done first and what should be left until the end. Then we decided what members of the team would do what. Working together as a team and delegating tasks is important so that each member of the team is involved and that no one member is left doing all the work. Sometimes it works best if there is a team leader to help decide who should do what, other times teams prefers to decide together.
What we used:
- Copper nails (the uncoated kind, often called “clout” nails or “roofing” nails)
- Wire (uninsulated/unjacketed, with a thickness grading of 18 AWG)
- Resistors – 330 ohm (330R) worked well for us, but you can choose different strengths to suit specific colour LEDs better if you like
- LEDs – we used 5mm diffused bulbs
- Solder – we used tin/lead solder wire with flux
- Soldering Iron
- Wood – we cut big sheets of 5-ply into pieces about 1ft x 2ft in size
- Paper for templates
- Hammer
- Alligator clips
- Batteries – with 2 AAA batteries (3V) per letter the LEDs were not quite as bright as we liked so we used 4 AAA batteries per letter to get 6V. However this was quite bright and we think that 5V should do the trick in the future!
- Black thick thread – tied around the letters to define their outline. This was more for aesthetics and is not necessary.
Making the sign!
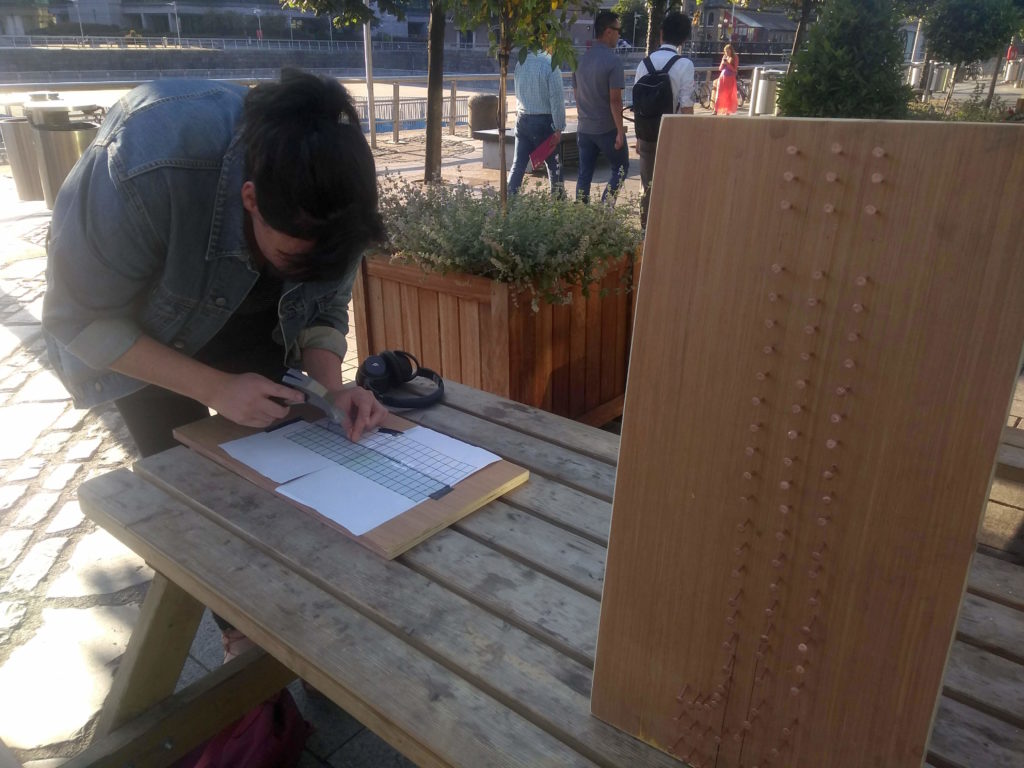
Making the sign consisted of printing out templates of the letters to suit the size of the wood. We used these paper letter templates to mark the wood where we would later hammer in the copper nails.
Once we hammered in the nails (which we did outside as it is quite noisy!) we wound two lines of wire around the nails.

Layout of the circuit
The nails formed three “tracks” around each letter. The outer “track” would become the positive part of the circuit and the inner track would be the negative. We used a piece of wire to connect together all the nails in the positive track, and another piece to connect all the nails in the negative track. In this way we could connect the LEDs in parallel, much like using the “rails” on a breadboard. The centre “track” of nails wasn’t really a track: these nails were not connected together with wire. Instead they were used as the connection point between each LED and its resistor.
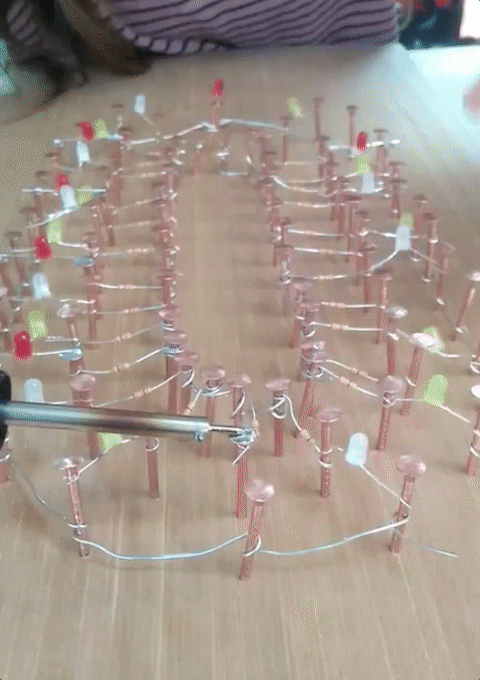 Soldering a LED to a copper nail
Then we tied resisters to the nail on the inside of the letter (same side as the negative wire) and the centre nail. The LEDs were tied or soldered to the outside nail (connected to the positive wire) and the nail in the centre.
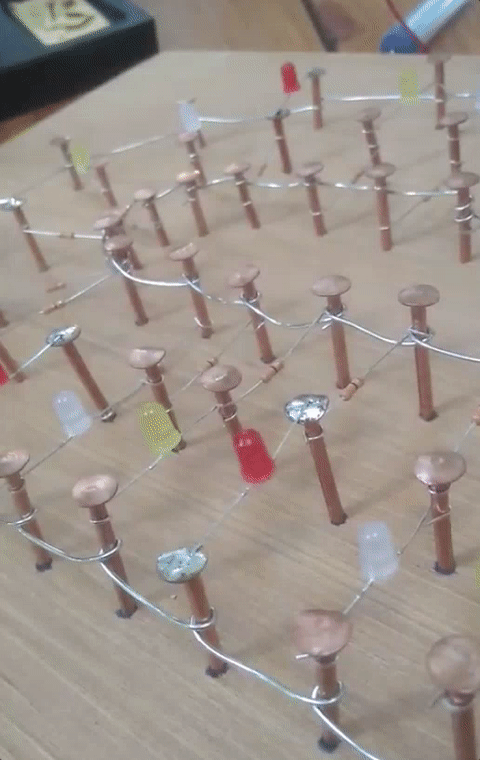
Once complete we tested out our circuits by connecting the positive and negative wire with the corresponding wires from the battery packs using crocodile clips. (Note: for testing we just used 2 batteries, i.e. 3V as this was enough to light up the LEDs and we didn’t want to blow them just yet!)
For the lower case “d” and “r” we needed to run separate positive and negative wire on part of the letters, which we connected separately with crocodile clips.
Creating a switch
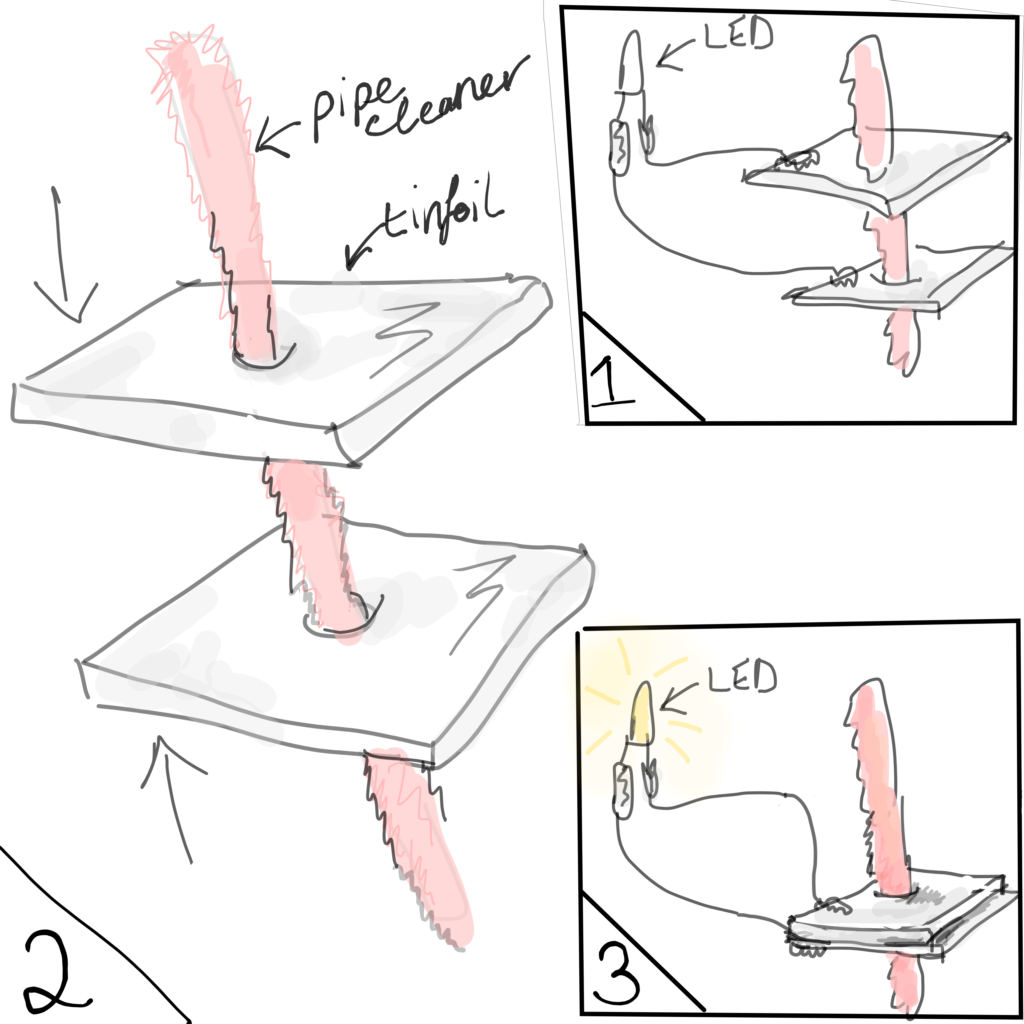 At the event itself we wanted a way for children involved in CoderDojo to take part in lighting up the sign. Each letter was created as a single circuit. So we devised nine switches that the children could use to turn on the nine letters. We made these with two pieces of cardboard covered in tinfoil which were positioned on a pipe cleaner. When apart the two tinfoil squares broke the circuit. When each child pushed them together, closing the circuit, the LEDs turned on!
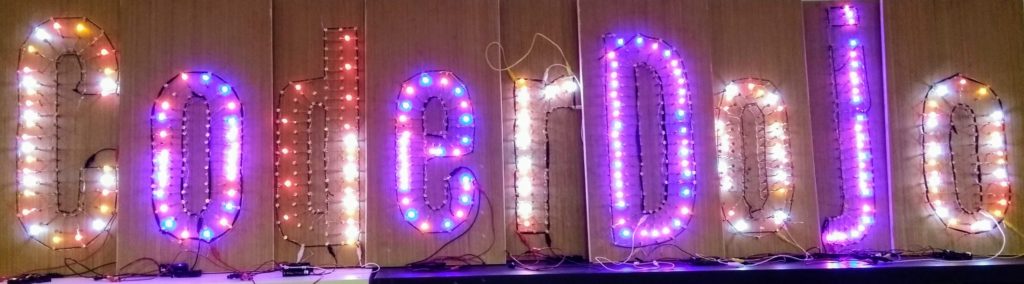
And here is the sign in action:
